
Fantasy Town Environment
Solo Project
I was responsible for all aspects besides the rock models, sky texture, generic character modeling, and partly rigging.
Rock models and sky texture were acquired from https://freestylized.com under a Royalty Free license.
SOFTWARE USED:
Blender
December 2025
This is an environment I made entirely in Blender for an animation called “Ishitkai”, which parodies the isekai genre in anime. In this project I made use of a lot of simple but effective modeling techniques that I’ve learned over the years in Blender. This was a good excuse to really show off how much I’ve progressed in applying my understanding of color, value, lighting, and composition.
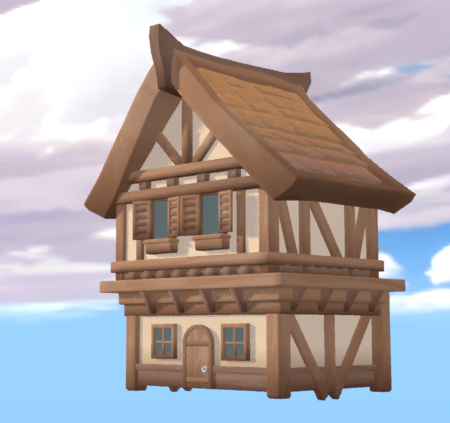
I started off creating a house that I could break up into modular parts to create more buildings. Models such as the window, door, roof tiles, the wooden bars were all made to be re-useable.
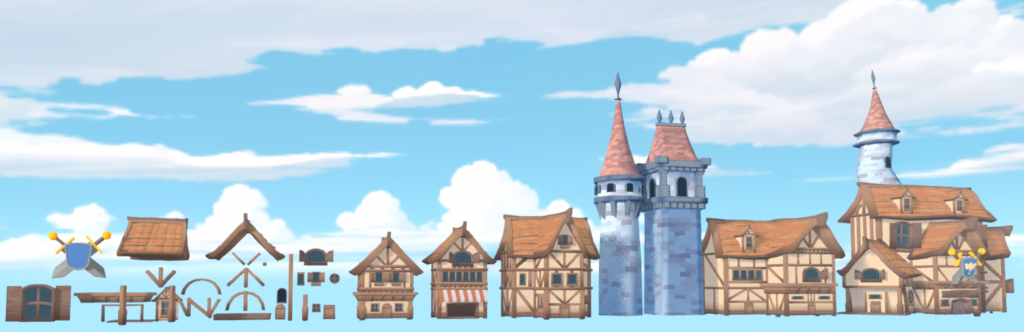
I created several iterations of buildings using the modular assets I’ve created. This was enough variety to start working on the environment, and for extra unique shaping I was able to “whack up” the buildings using Blender’s sculpting with the grab tool.

An example of a “whacked up” building. By doing this it gives the building a lot more personality instead of very straight rigid edges and silhouette.
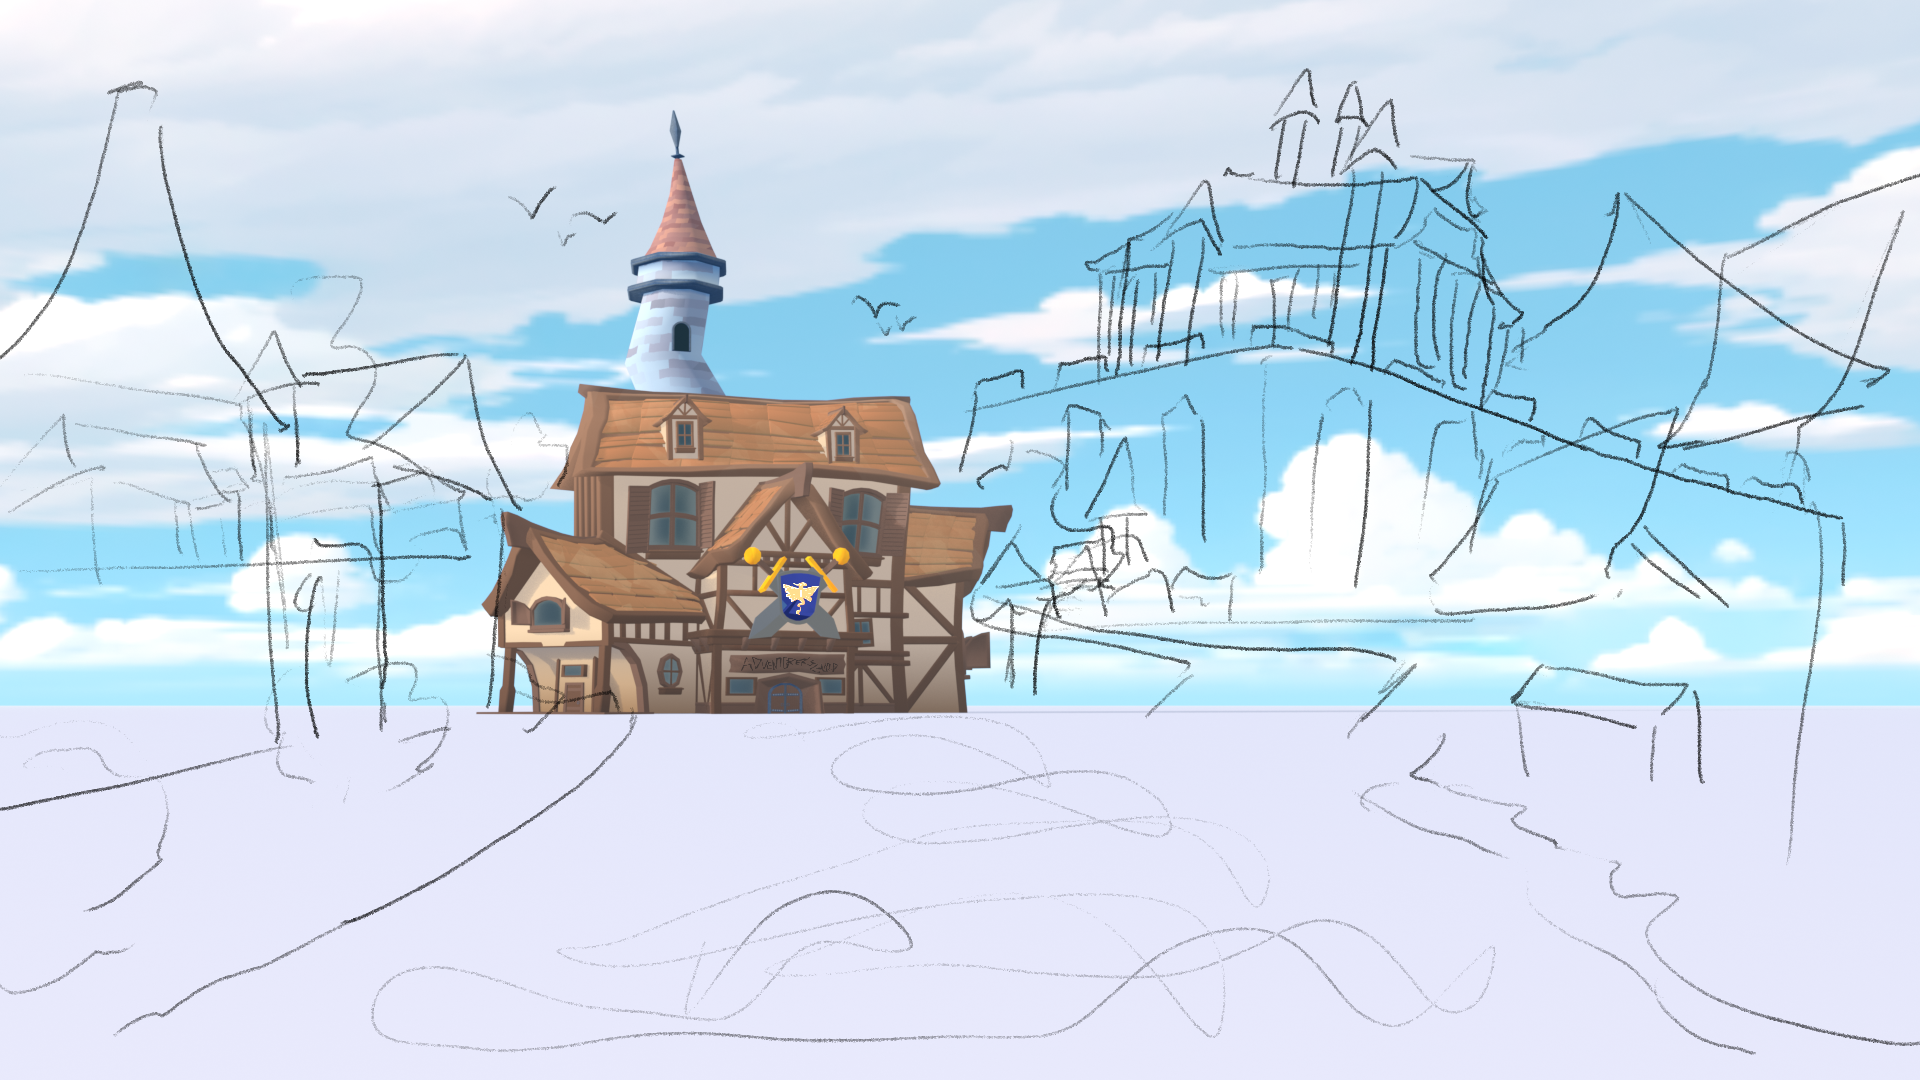
Next I began working on the actual layout of the environment. Here is a very rough initial ideation sketch, enough to get the general idea and shape of where to place buildings and how to compose the image.
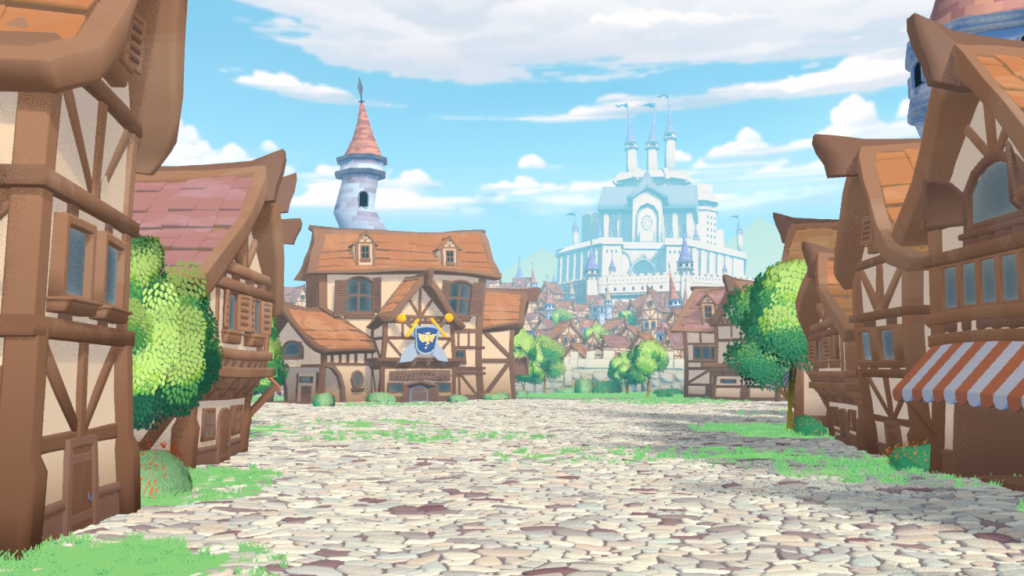
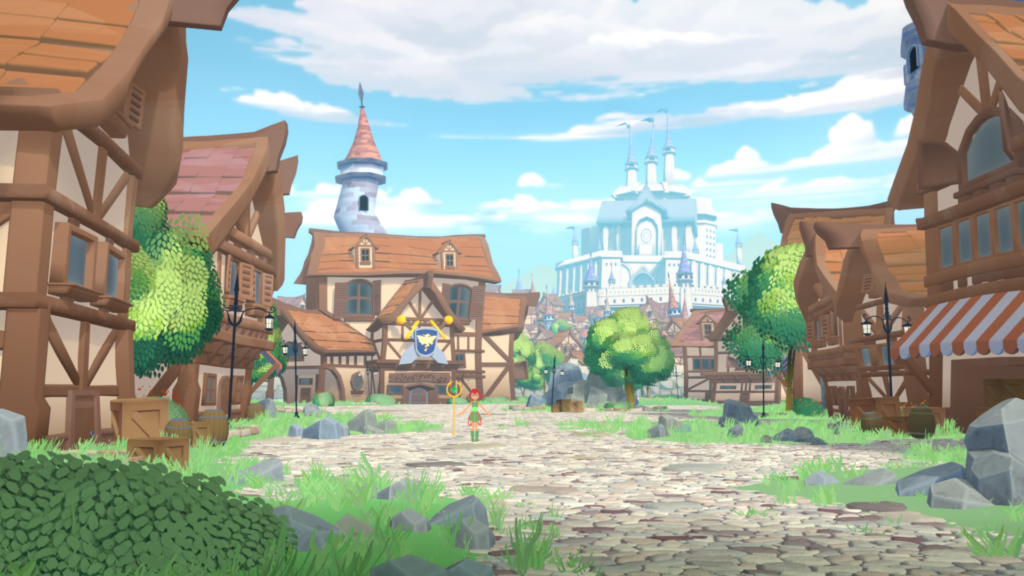
This is an early version of the environment after some time placing down assets. I used a lot of instanced assets, and mixing in unique variations that were sculpted slightly differently. I also scattered in some additional foliage assets to break up the wood and rocks and make the scene more alive.
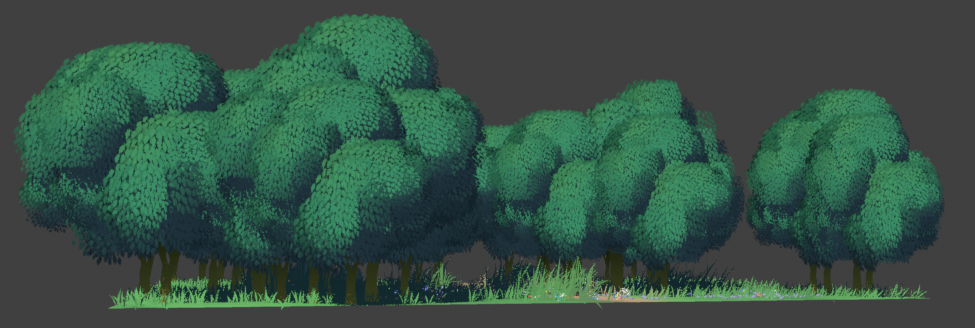
The foliage assets were created entirely by me, making use of geometry nodes to get a wind like effect on the leaves.
I have another page on this website about it.
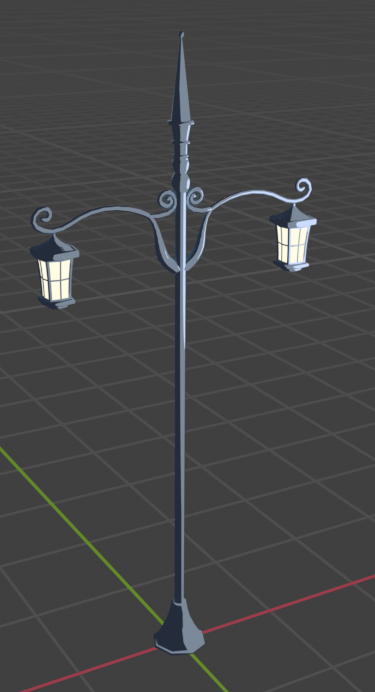
A second pass at foliage, and also adding in some rocks and a street lamp model that I created.
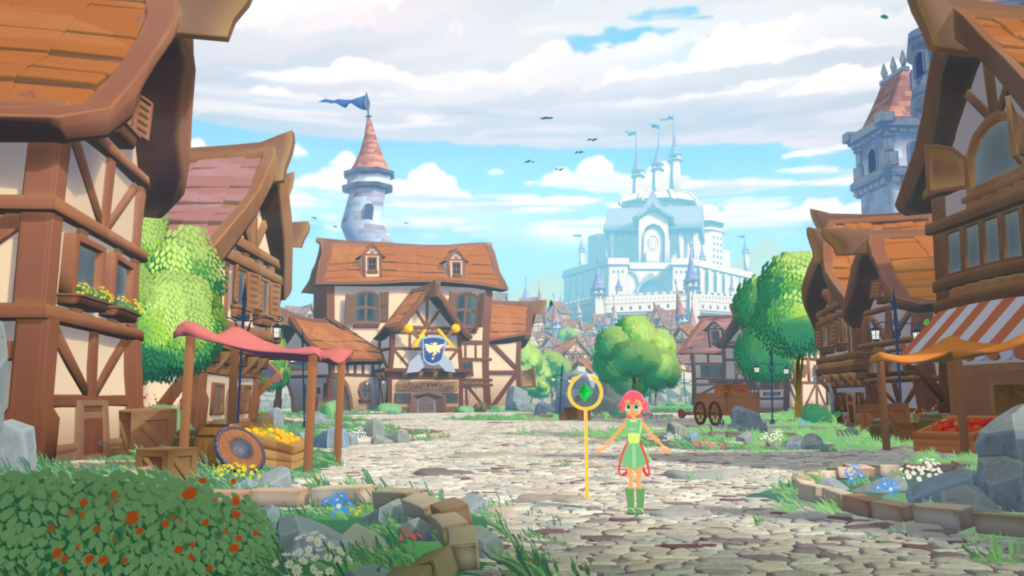
A third pass at the environment with more assets to give make the environment feel living with people.
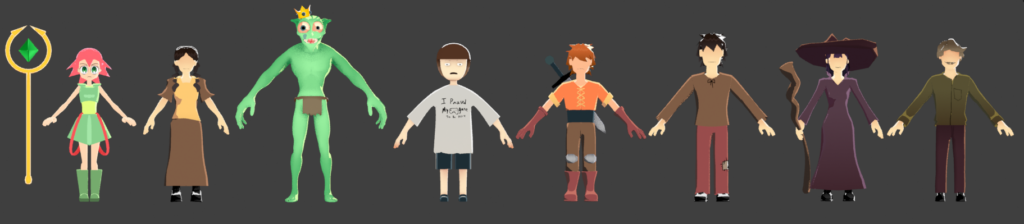
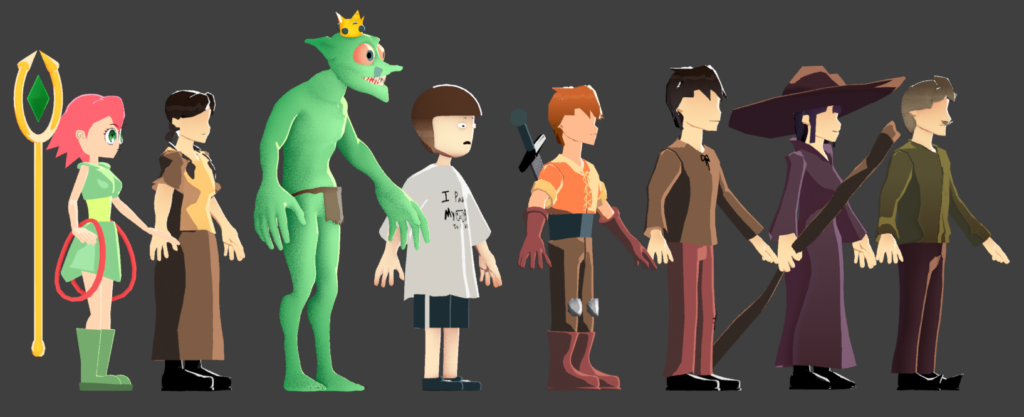
Characters that are used for the environment (goblin king excluded). The character models and rigs were not entirely my creation but were concepted/designed and very heavily modified by me for better proportions or to fix issues with posing and scaling.
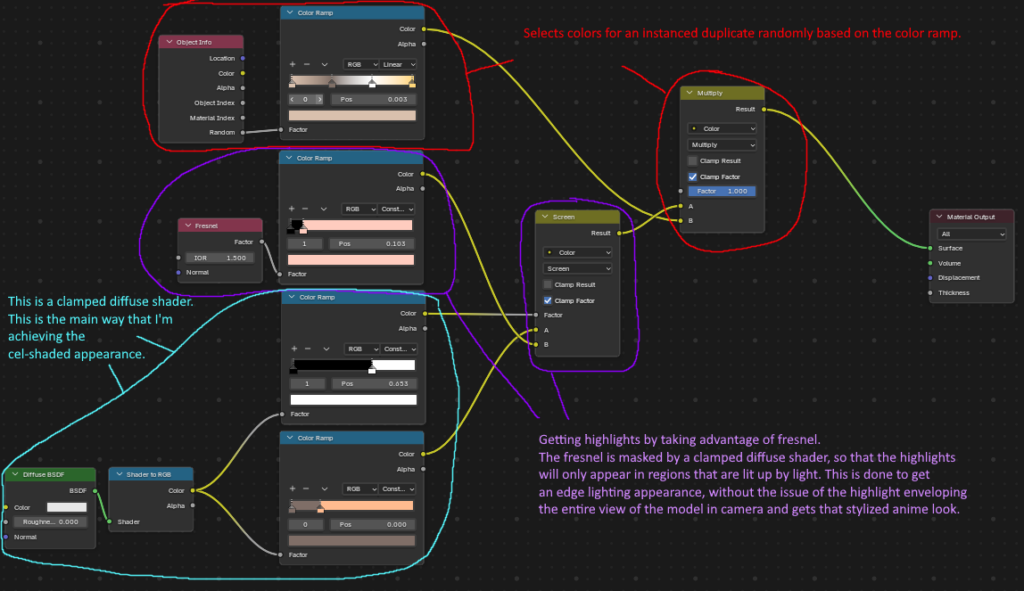
The shaders for the characters were also heavily modified by me, simplifying them for easier iteration and also supporting instance randomization mainly to get variations in color of clothes, skin, and hair.
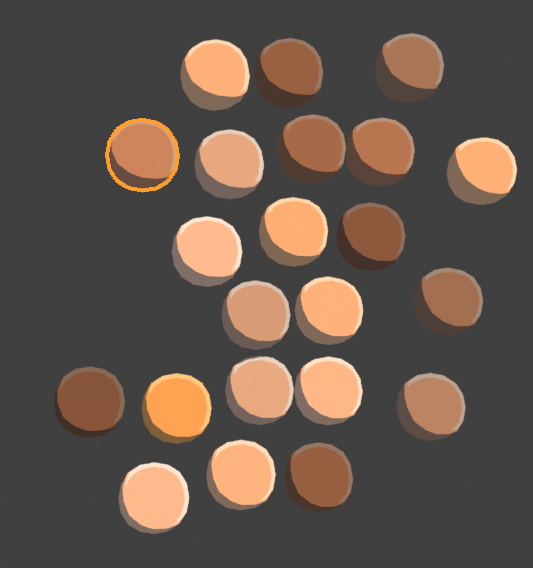
Here’s an example of that same shader in action. This shader was used for skin.
Here’s an example of that same shader in action. This shader was used for skin.
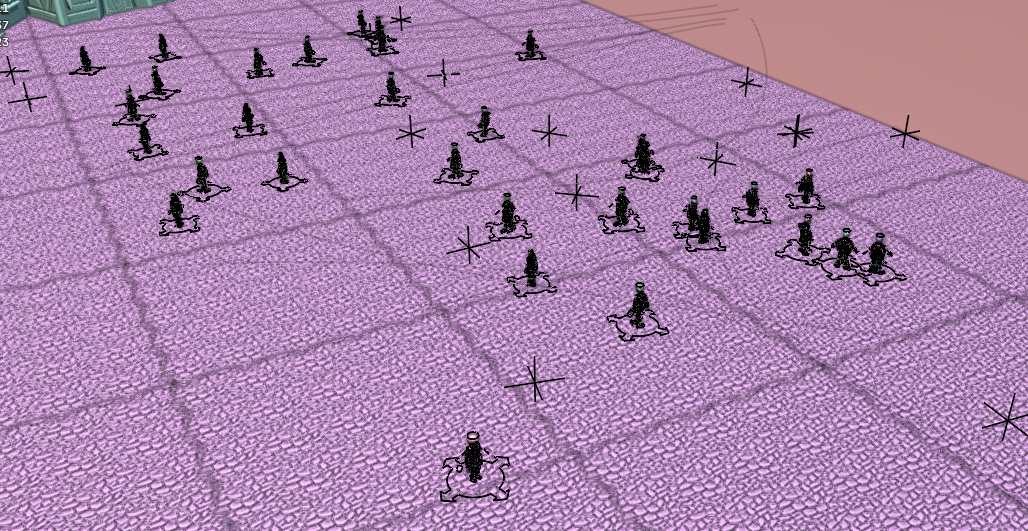
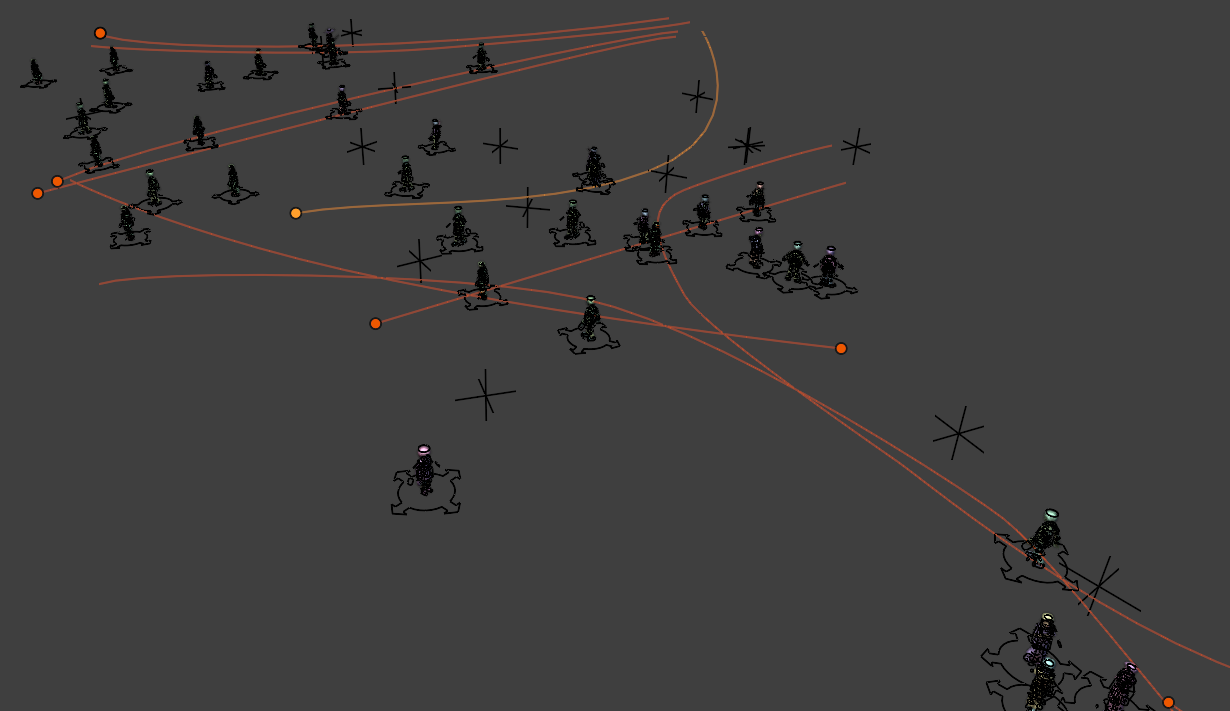
These are the “NPC” characters that I’ve scattered across the environment to make it appear more like a living town. The NPCs are assigned with an animation that I created specifically for the environment. They are then parented to a spline and are made to follow the length of the spline over a period of time. This gives them the appearance of walking, although not perfect it was suitable for my use cases. I took multiple variations of these NPCs on path and duplicated them as instances, and easily added numerous more characters.
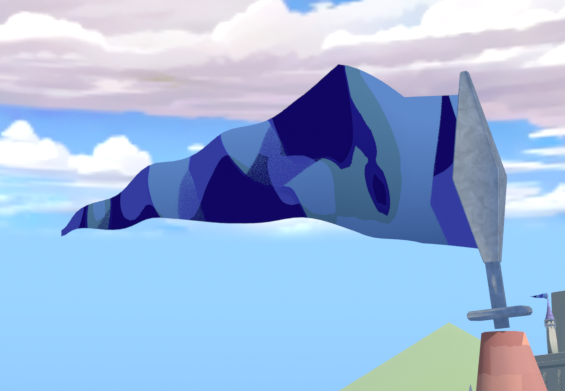
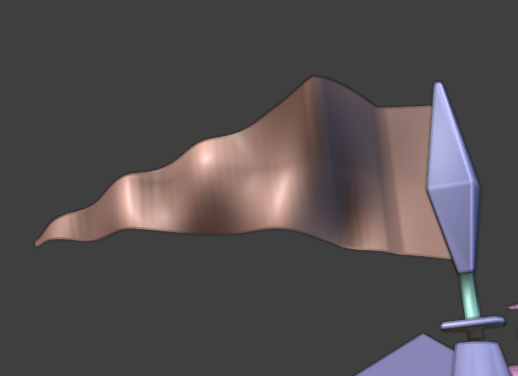
This is the flag that can be seen on top the buildings in the environment. The way that I created these flags was not with actual cloth but a panning displacement texture, with the panning controlled by an empty object that is moving constantly in one direction using a driver.
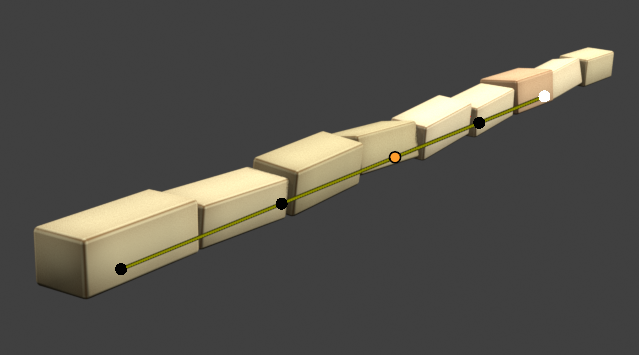
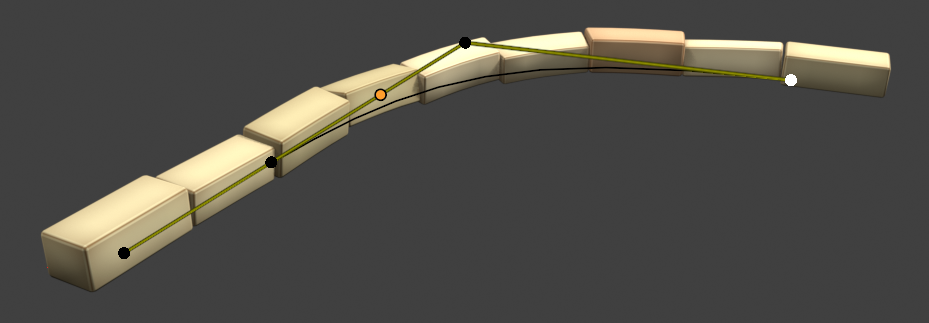
These are bricks that are controlled by a spline, which made it easy to arrange them in a row and broke up the flat shape of the ground. The row of bricks is actually only one brick model, and the other bricks are generated using randomized arrays that control the scale and orientation, along with a shader that also randomizes the colors of the bricks.
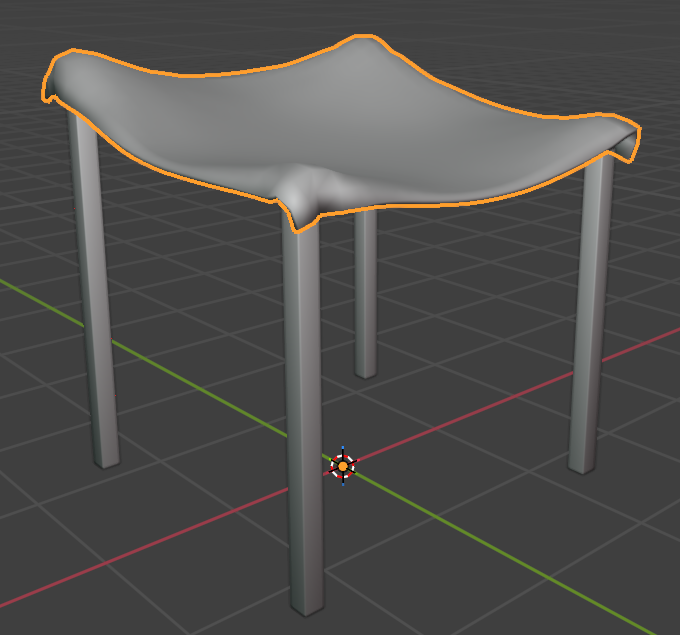
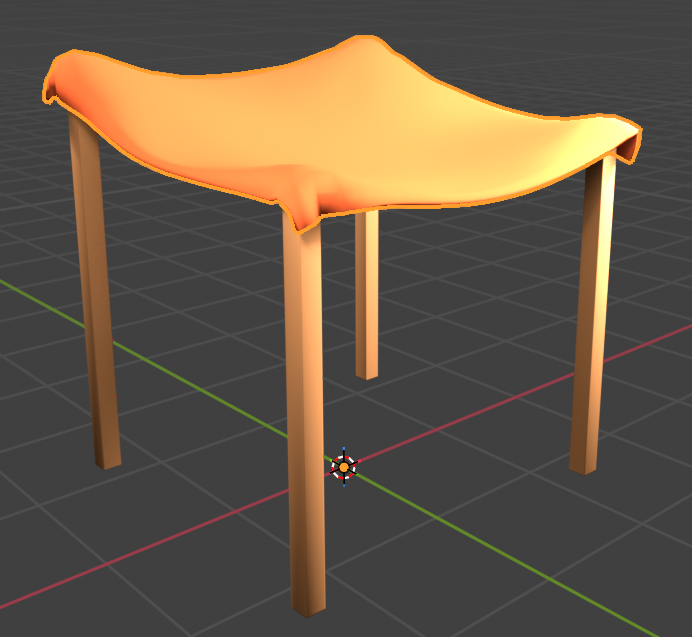
This is simple fruit stand shade model that I created using Blender’s cloth physics. The process was simple, I simulated the top part to get that draped cloth appearance, and I baked the simulation into a static model by applying the cloth modifier.


To go along with the shade, I created a little stand filled up with fruit looking objects. The way that these fruit were created is using a scattering particle system. The fruit were scattered in a manner similar to hair particle systems, and the geometry node setup I used allowed me to randomize their location and orientation, and I also offset it a bit to make the stand appear more full. Some fruit are merging into each other but from a distance the stand looks convincing.
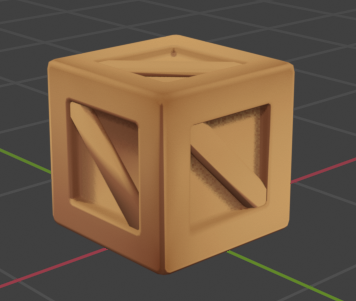
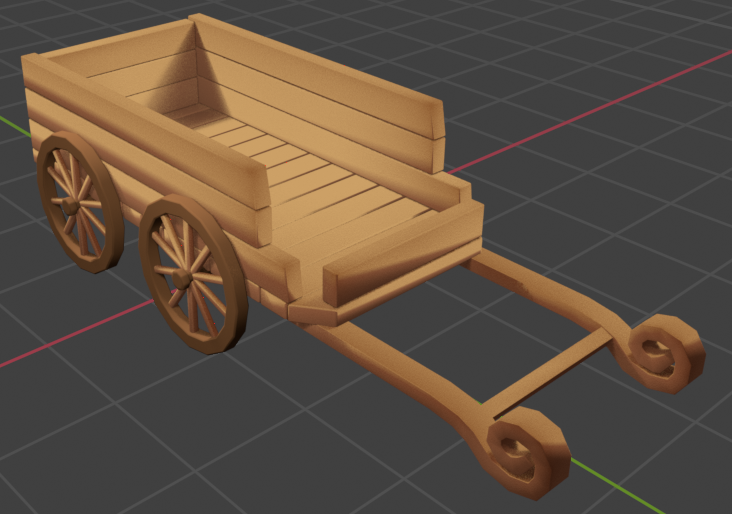
Here are some additional models I made for the environment, mainly using traditional modeling techniques.
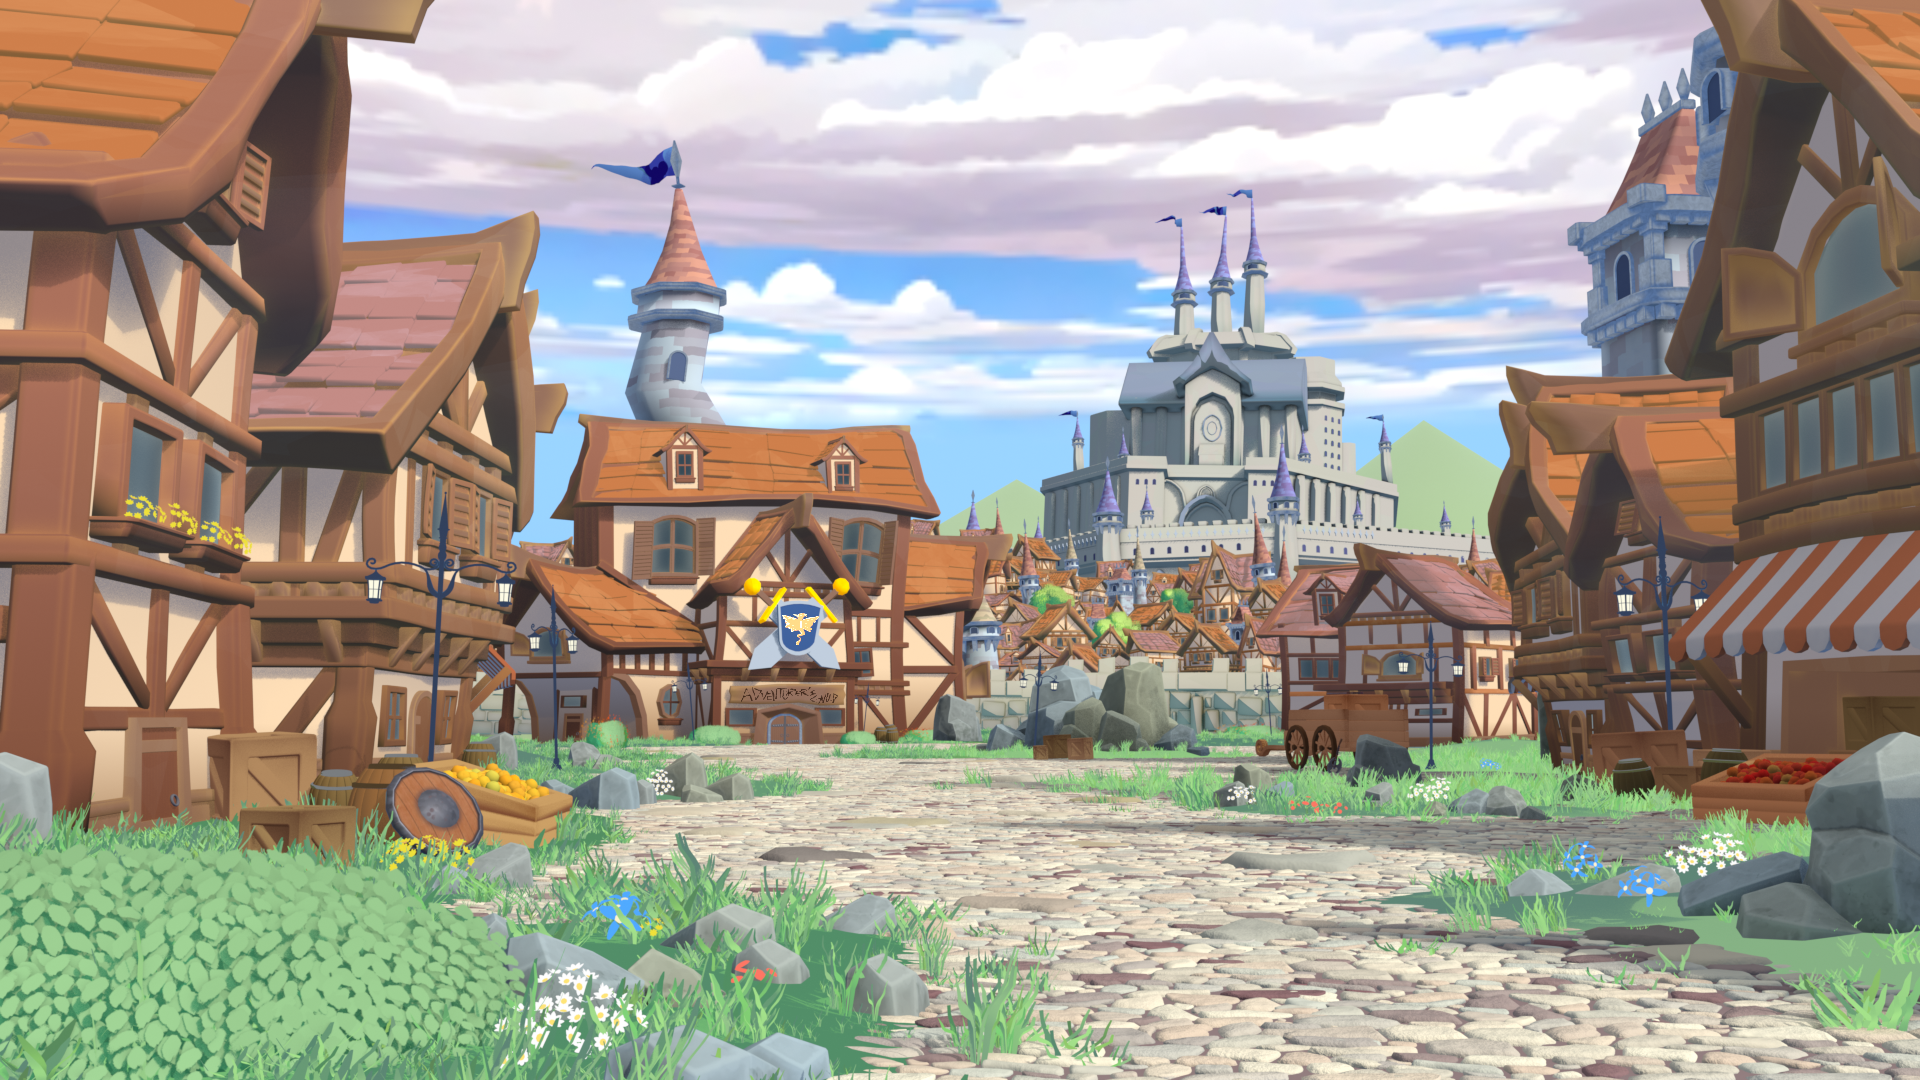
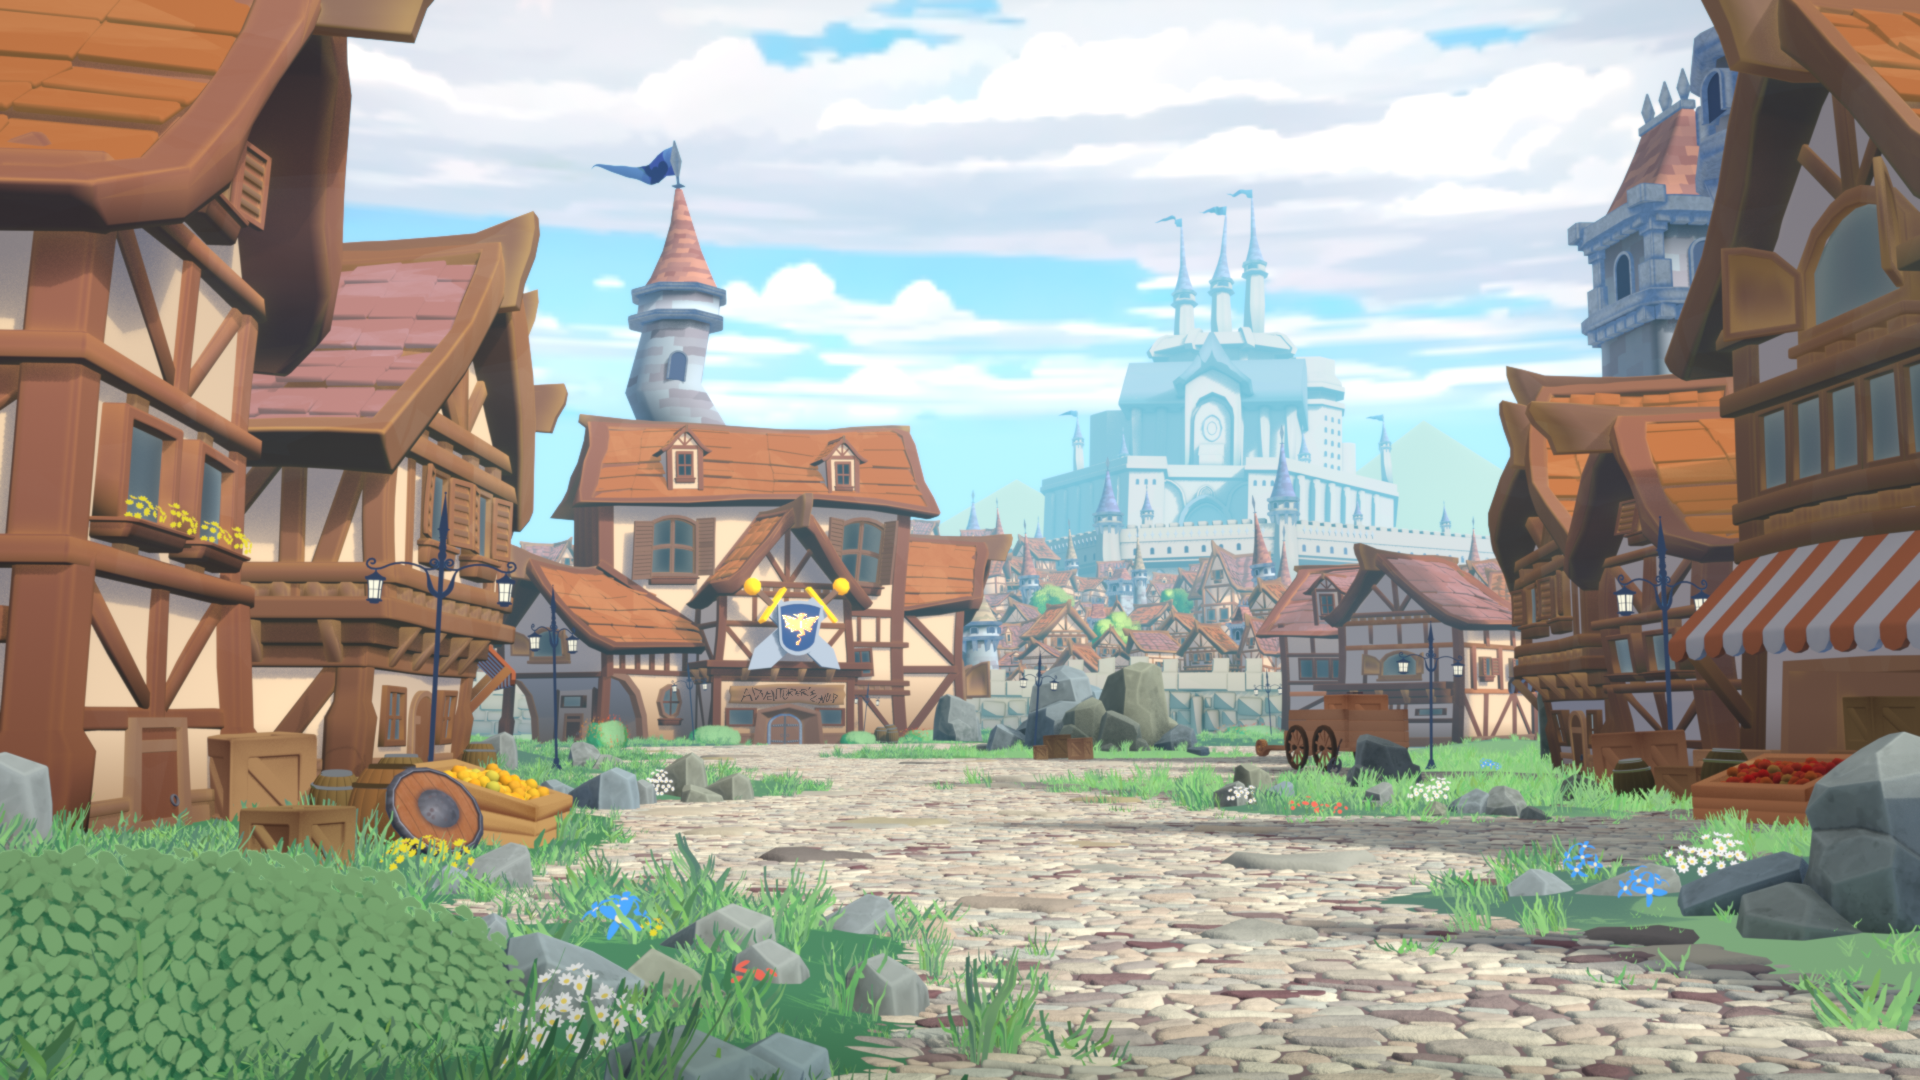
Left is without compositing, right is with compositing.
I’m using compositing to enhance the image and make the final render feel more artistically driven. As you can see, without the compositing the image feels very flat, has a lot of sharpness, and everything is fighting for attention.
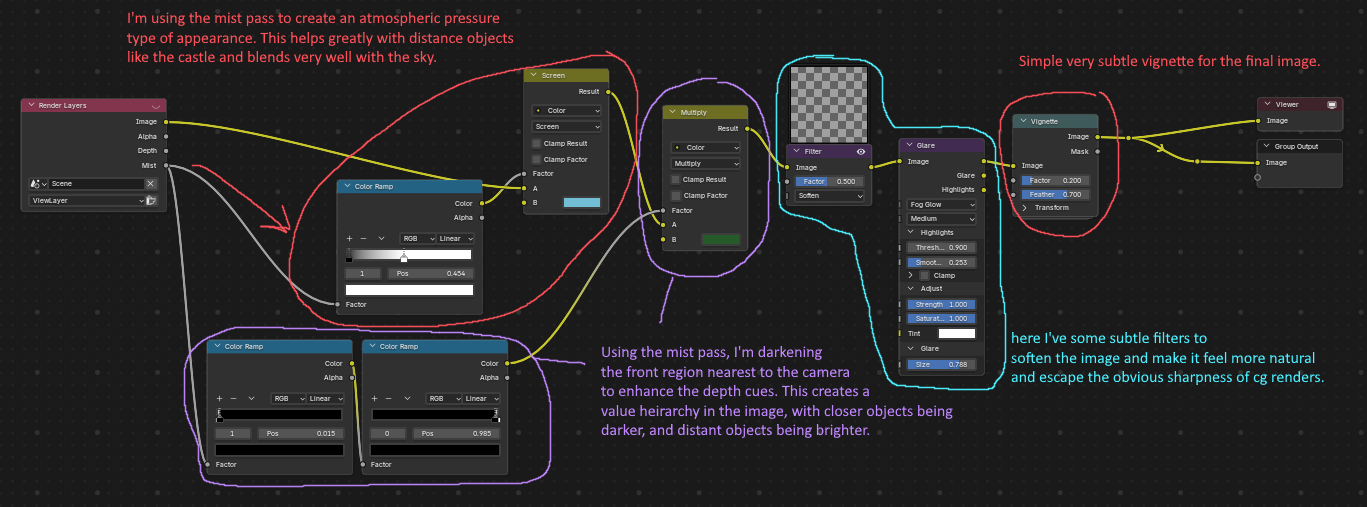
Here’s a breakdown of my compositor node setup.